
If your team is anything like ours, you have a drawer full of unsorted and unorganized timing belts. It’s a difficult drawer to sort through, with little rhyme or reason as to what belt goes where. So anytime a project requires a belt of any kind, you aren’t able to find the right size or kind because they’re lost to the chaos of “The Belt Drawer.” It’s a huge waste of time and money!
Belt Organization Examples
We have seen a few different methods to organize belts which were far better than our massive drawer.
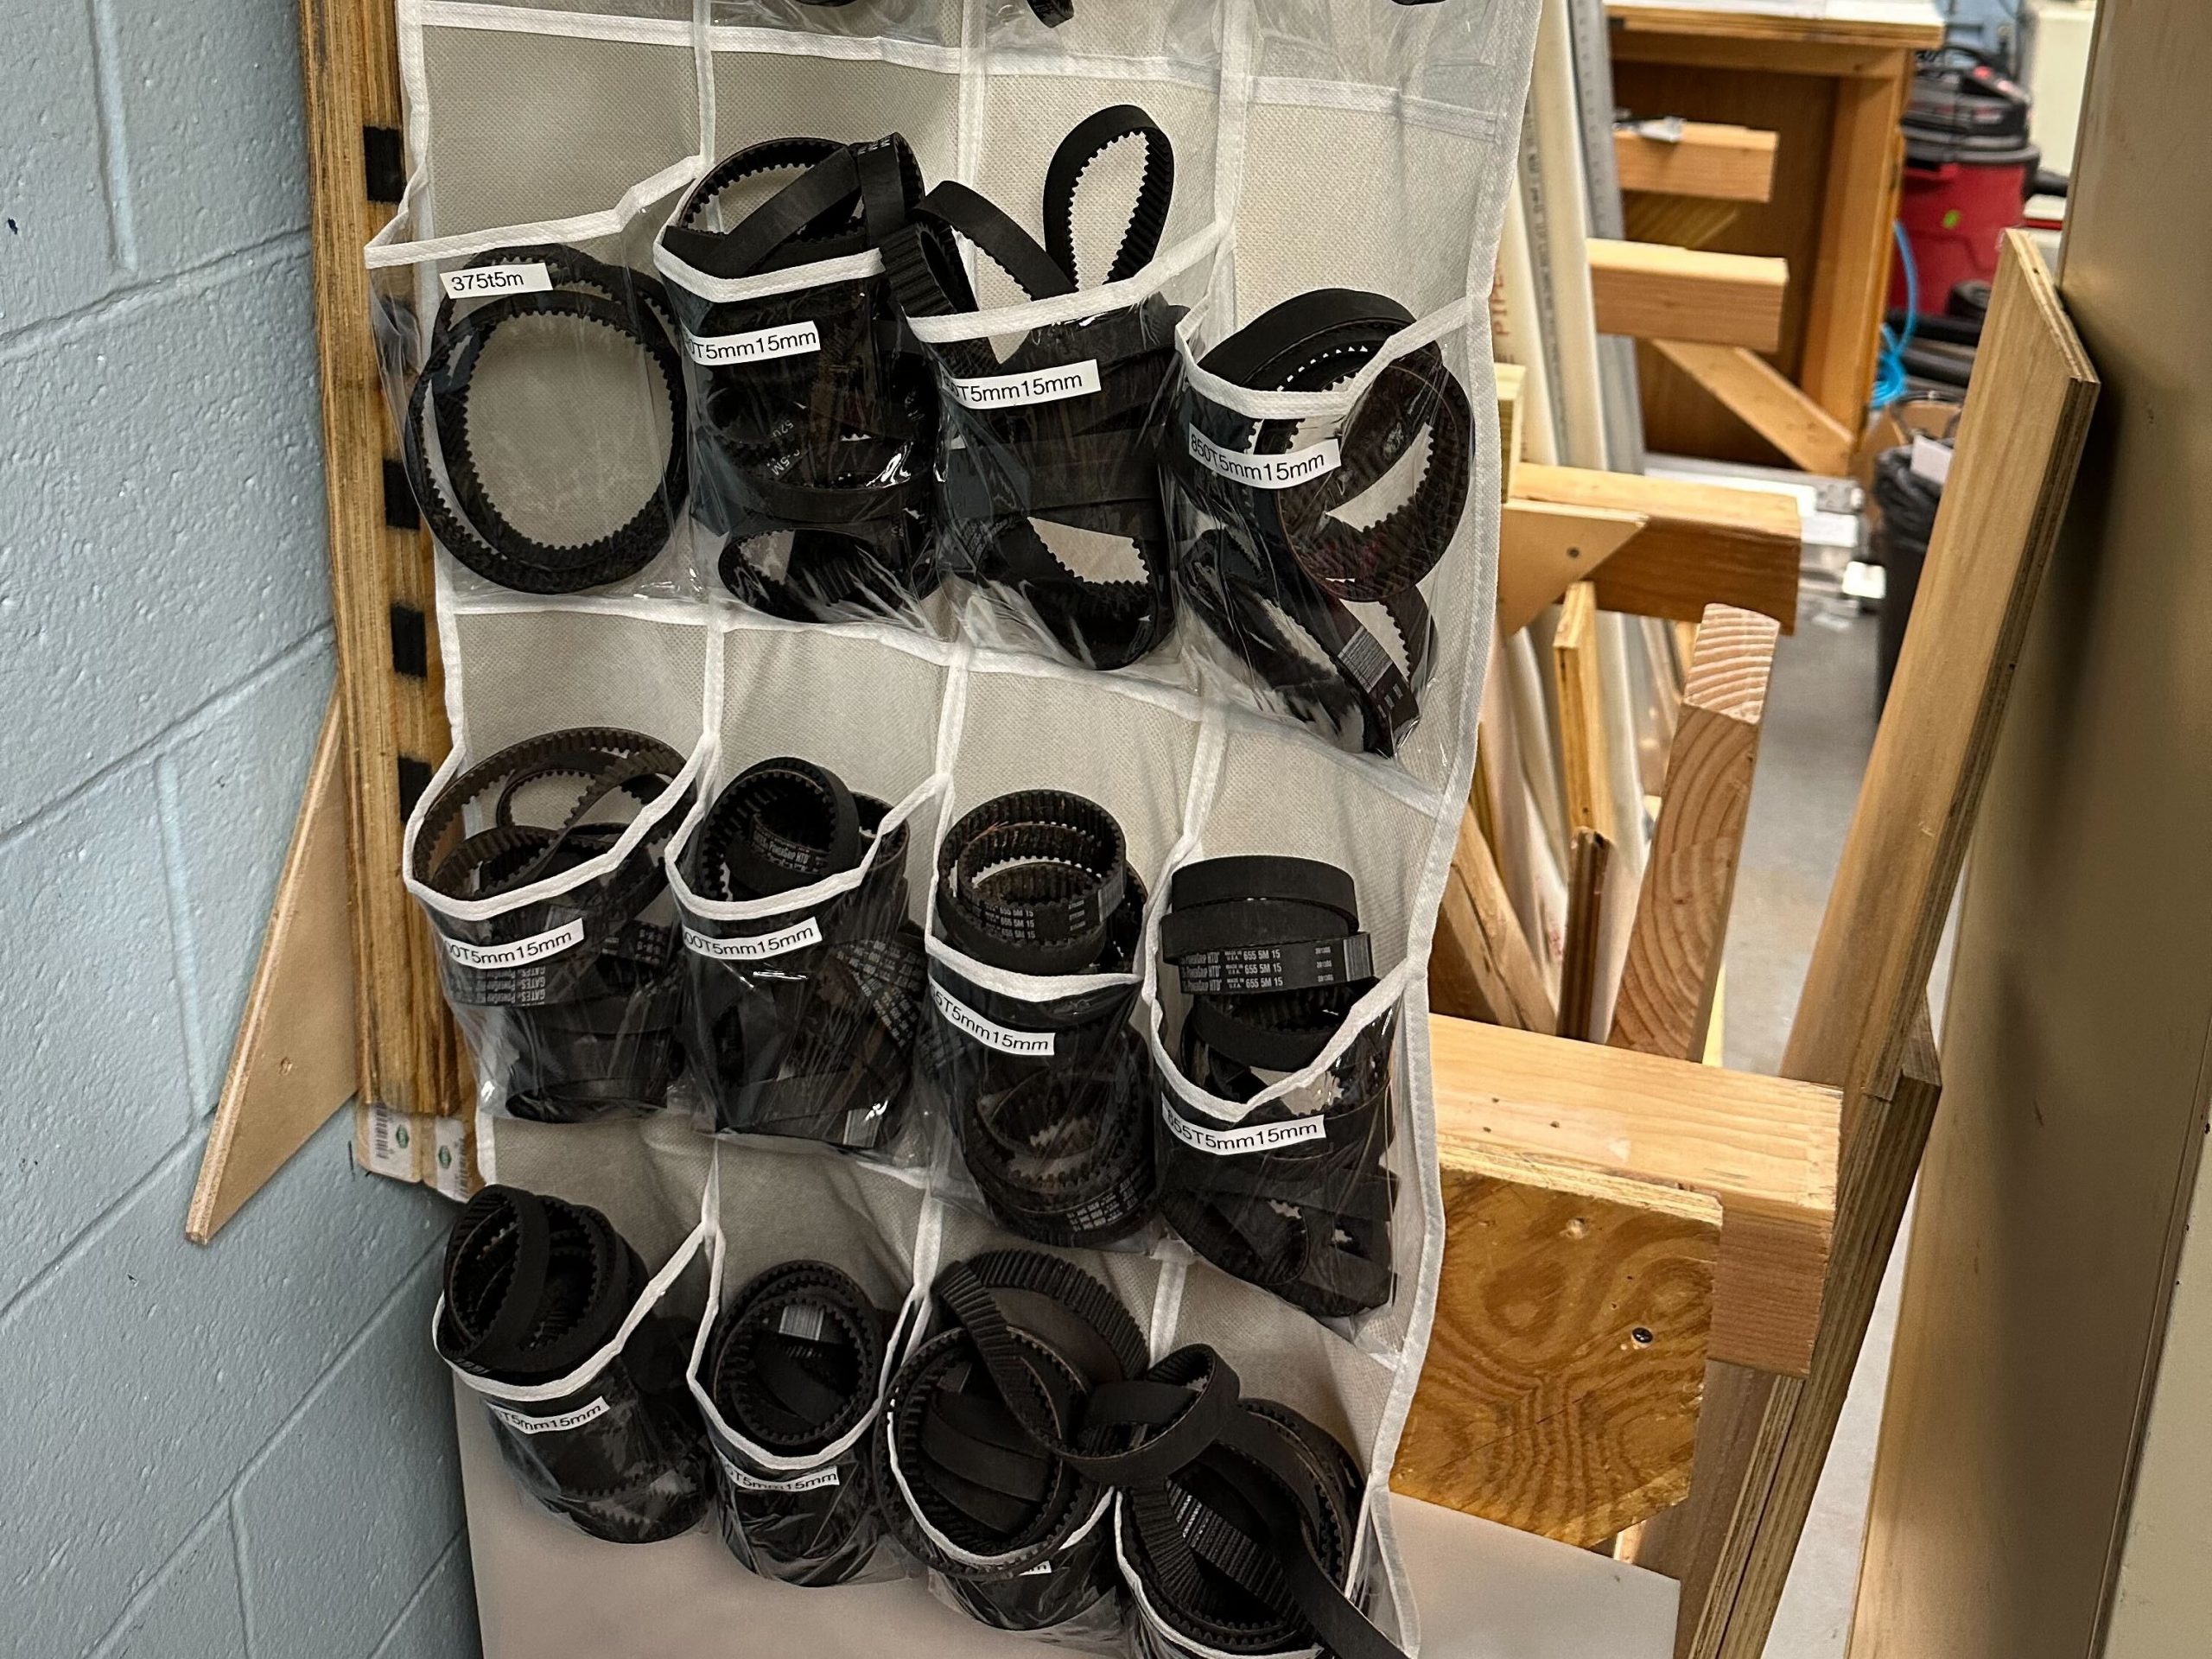
The shoe organizer shown here by FRC Team 2713 is a good option because the belts are visible at all times and can be clearly labeled. This prevents the issues we had with over-purchasing as a result of being unable to accurately track stock.
Allison from FRC Team 3538 developed the 3D printed organizers shown on the right. Each organizer is designed for each unique belt size and neatly labeled. This makes it easy to keep track of stock as well as maximize storage space as the organizers store the belts vertically in a drawer.
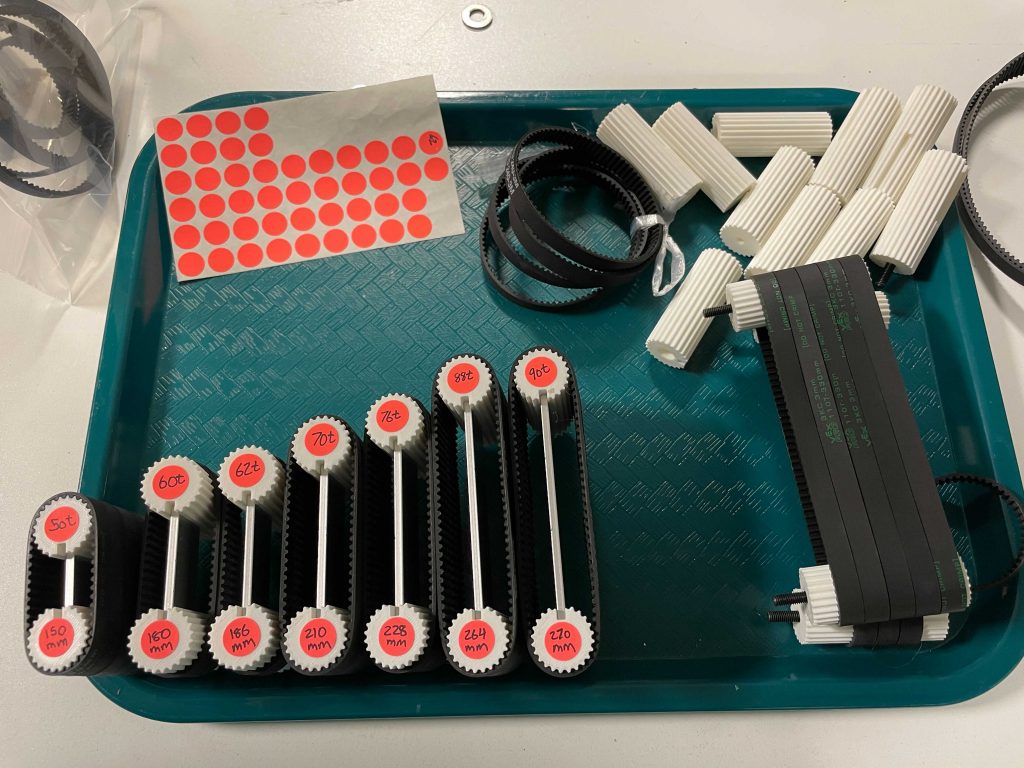
While these are great options for other teams, they didn’t work directly for our shop. We don’t have anymore over door hanger space as that’s currently all team member safety glasses storage. Allison’s solution required lots of 3D print time (which we have) but also deeper drawers than our belts are currently stored in. Ultimately, we decided we needed to tailor-make a storage solution to suit our team’s needs.
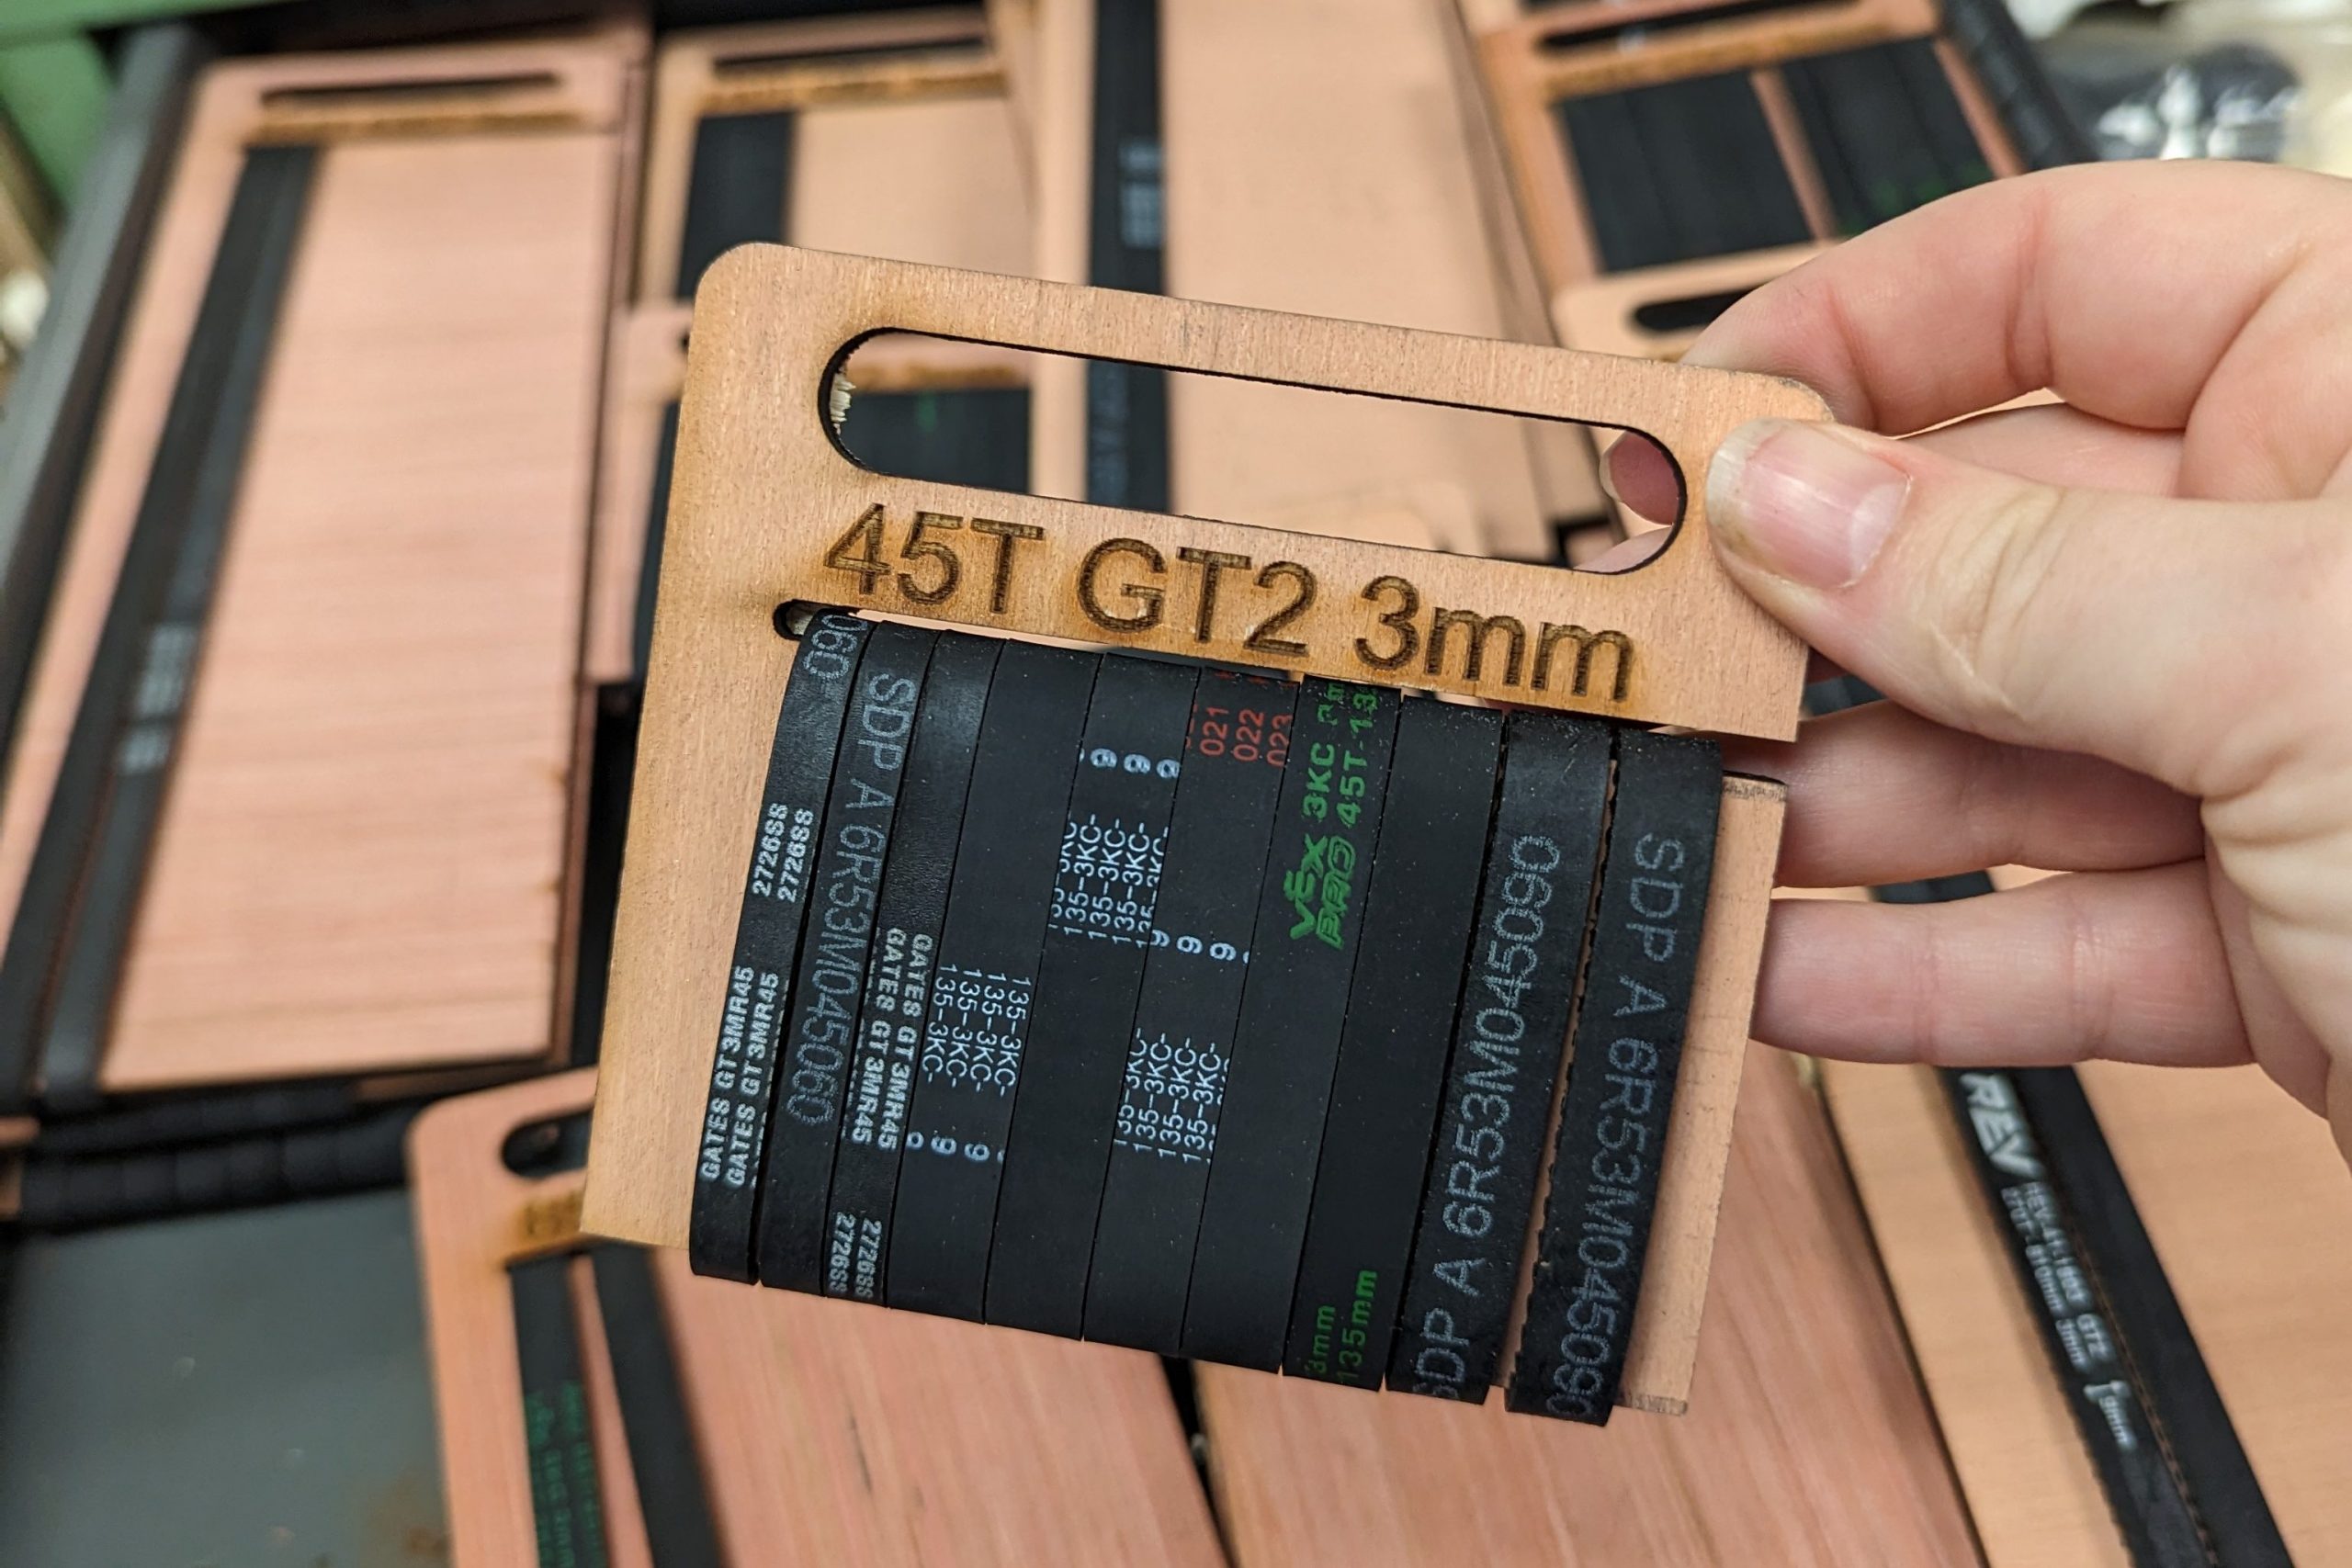
The 3005 Belt Storage Solution
We knew we wanted the belts as flat as possible because our tool and part storage are fairly shallow drawers. We utilized our team laser cutter to create these flat packed cards with each belt size and type engraved under the handle. Each one fits 10 belts (assuming a 9mm wide belt) and are sized to tension the belts slightly once they are stored to prevent slipping. This solution allows us to stack the belt storage in the drawer to maximize our available space and easily see what belt sizes we have in stock to prevent further over-purchasing.

As with most of our team projects, the manufacturing method played a large part in our final design choices. This solution is manufactured solely with the laser cutter which means it can be machined quickly and accurately every time. In fact, all of the cards shown here were cut out and organized in one team meeting. Efficiency for the win!
Manufacturing Your Own Belt Storage
If you would like to use these for your shop, you can get the pattern from this OnShape document. It’s configurable for both HTD 5mm and GT2 3mm belts. Other belts could work as well with some adjustment in the settings. We cut our cards with no kerf settings on our Nova 51 130W laser so you might need to tweak the offsets on your laser. The LightBurn file is also included in the Onshape folder.
Depending on your shop needs, the cards can be organized in a drawer like this or stood on end in a bucket for easy access.
Huge thanks to our community of teams, mentors, and volunteers who offered their own solutions and helped us develop these storage cards! Keep an eye on our team social media pages and website for more projects and ideas to help organize your team’s shop.